The search for the ideal shipping box involves a lot of complexity. It’s about safeguarding the goods your small business sells and managing your brand, but it’s also about minimizing costs along the route. In 2017, businesses paid a record-breaking $1.5 trillion on shipping expenditures, including warehousing, packaging, and transportation.
Finding the ideal box for the goods your small business is shipping involves a lot of work and ensuring your products are properly wrapped. But don’t worry; you can start without being an expert in box measures.
Gather all the information you require to make an informed decision regarding your upcoming box purchase that will help you save money.
The Most Common Box Sizes
The typical box is 17 x 12 3/8 x 12 3/8 in size. Because it was made to hold bulkier objects like albums, books, records, hand tools, CDs, and more, it’s also known as “the book box.” It is the most regular size available at shipping facilities, and it is typically the smallest, lightest, and least expensive option.
Even if it’s a standard-sized box, it doesn’t always imply it’s a standard for you. You run the danger of your cargo not being transported or of having your products arrive damaged when you ship them in a box that is either too big or too tiny. Another reason the book box might not be the best box for you is that you can save paying more for shipping by making sure your box fits your things snugly.
Why is this important? You want to ensure that the sizes you are utilizing ensure that your shipments arrive securely and ship effectively because the bulk of company packing boils down to just a few sizes — even Target delivers 70% of their inventory using only three distinct sizes. Finding the standard for your small business, which might be a standard size, a bespoke choice, or a combination of both, is the natural next step.
How To Measure for Perfect Shipping Boxes?
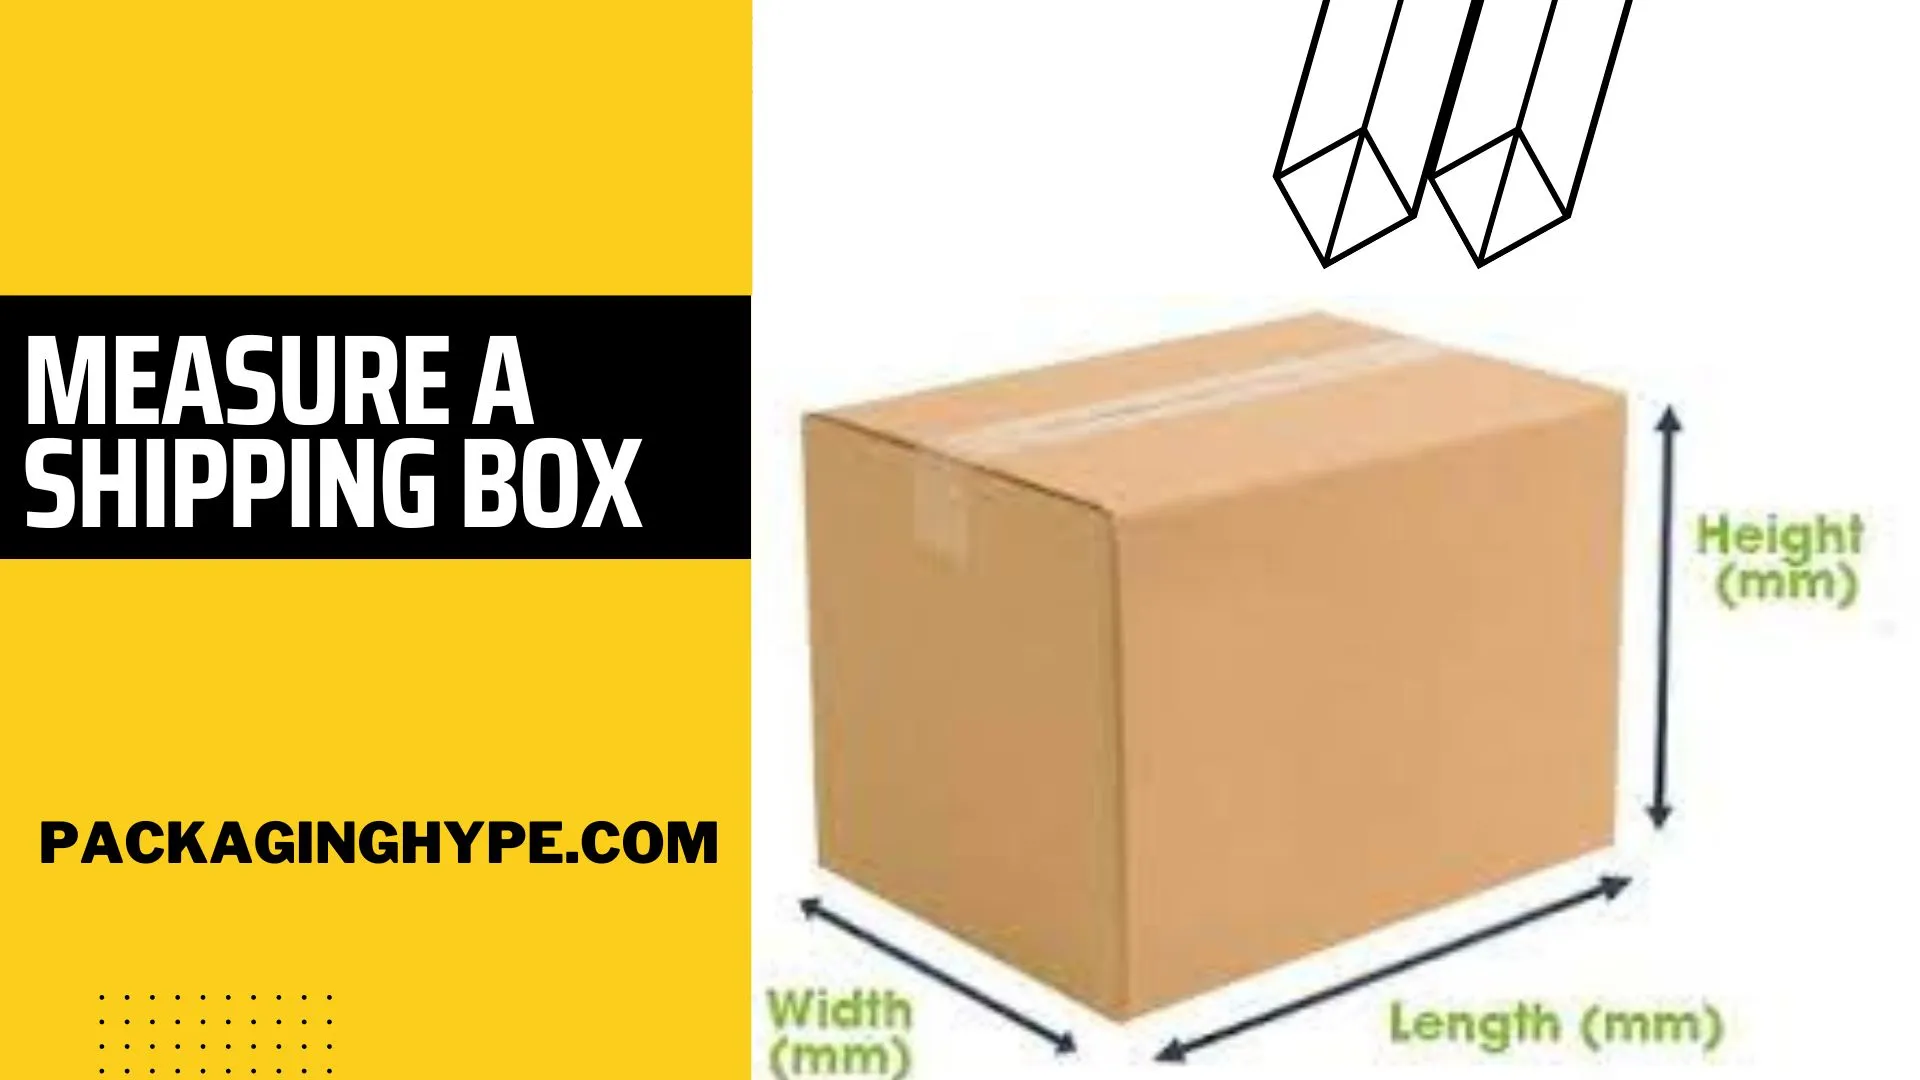
You must first choose the optimum measurements for your package to obtain the proper fit. You must be aware of the measurement method for boxes. First, remember that the dimensions shown on boxes are always taken from the inside and are always structured as length x width x height.
Length: Length is the first quantity to measure and the simplest to find because it is the shortest side of the box with a flap and is measured horizontally.
Width: The width measurement is distinct from the height measurement since it is taken on the horizontal plane and has a flap. Measured opposite the length, width is often the second largest dimension.
Height: The only measurement that excludes the flaps is height, which is determined by vertically measuring the box from bottom to top.
The Measurement Equipment and Information You Need
The key idea in box measuring is that the inside of the box, not the exterior, is used to measure the measurements. The ability to fit the product within the box comes first when fitting a product to it (including padding materials). Only exterior measures matter when putting boxes onto a truck or fitting cargo into a drop box.
When you have the proper tools and clear techniques, measuring any box size is easy. If you already know the size of your box, you may begin packing; otherwise, you’ll need some equipment.
Here Is the Gear You Need to Measure Your Boxes Easily
- Ruler
The simplest measuring device of them all, a ruler, can be the only one you require. Simply take internal measurements of the box’s height, length, and breadth. If you measure beyond the flap creases, you won’t get the correct dimensions; instead, measure up to the flap creases. Measurements should be recorded on paper.
- Measurement tape
If you already have a ruler, using a tape measure is unnecessary, although it is useful for bigger boxes. Simply note the measurements of your boxes using this as you would a ruler.
- Pencil or Pen
It’s crucial to check how much room is left over when determining how a certain product fits in a box. Put your merchandise in the box first. Second, measure the height and breadth of your goods within the box and make a tiny mark inside the box using your ruler or tape measure. This makes it easier to picture the space you’ll need for cushioning, like airbags and packing peanuts.
- Notepad
You’ll need some paper to keep track of measurements and make notes. Moreover, it can help you note down your measurements and keep checking for the inches that you measured last. This way, you won’t get confused with the last measurement you just made. Additionally, a notepad can help you reread the data you gather while measuring for the specific box size.
- Plaster tape (or similar light adhesion tape)
Although using a measuring tape is not required, it can be useful in determining whether or not a product will fit. Painter’s tape can be used to box up a product while testing its packaging for the first time to ensure that the box will hold it.
Making Use of Your Box Measures to Improve Team Efficiency
Once you’ve measured every box you use, it’s crucial to distribute the data and assign duties. Take the dimensions you recorded on paper and enter them into a spreadsheet online. Your shipping and handling staff may use it anytime they want and update the information as necessary in this way. If your firm is moving toward a subscription box business model, it may also utilize this information to create unique subscription boxes.
Conclusion
Measuring a box size is the first step toward making a good shipping box. You can only make a perfect box if you’ve taken the right lengths and noted the exact inches for the width. Otherwise, everything can mess up, and you might produce nothing related to your required product type. Hence, knowing how to measure a shipping box can also save a lot of time and resources.


